PT-22 Ryan Recruit Oil Painting Work-in-Progress
A work in progress gallery of my oil painting of the PT-22 Ryan Recruit.

A work in progress gallery of my oil painting of the PT-22 Ryan Recruit.

applying gesso to prep the hardboard

studio grade gesso
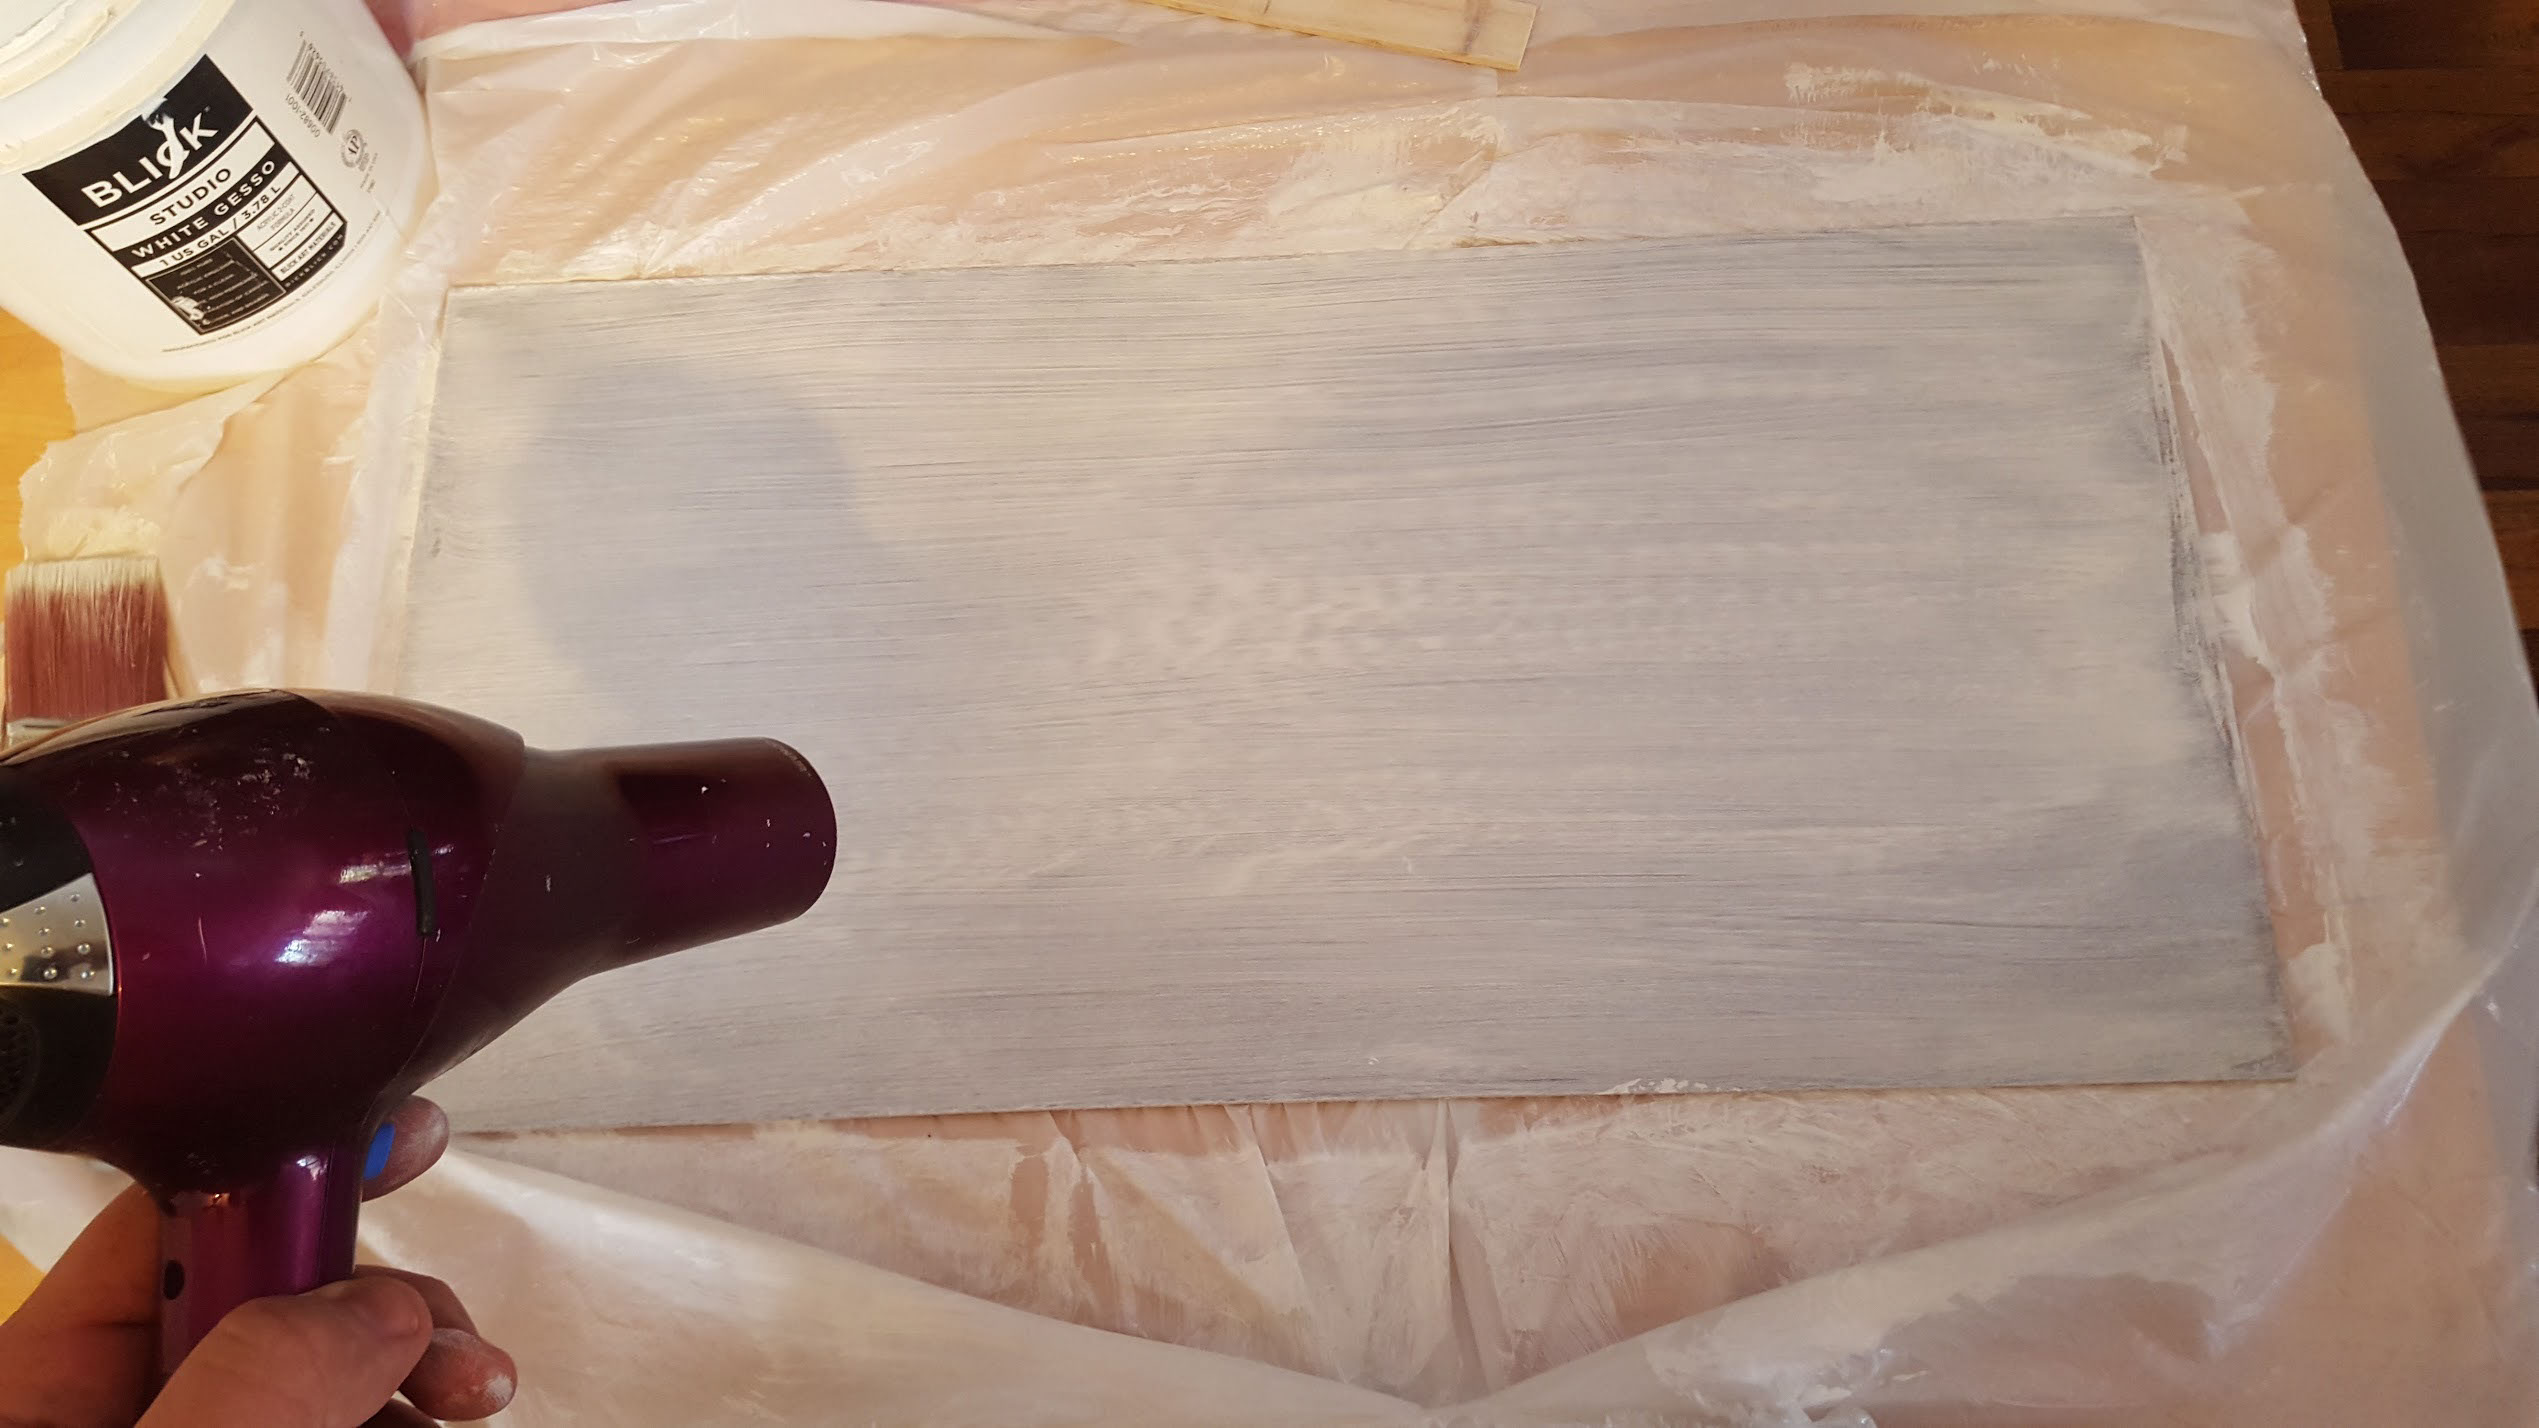
using a hairdryer to speed up drying time of the acrylic gesso layers.

Sanding the gesso between layer application.
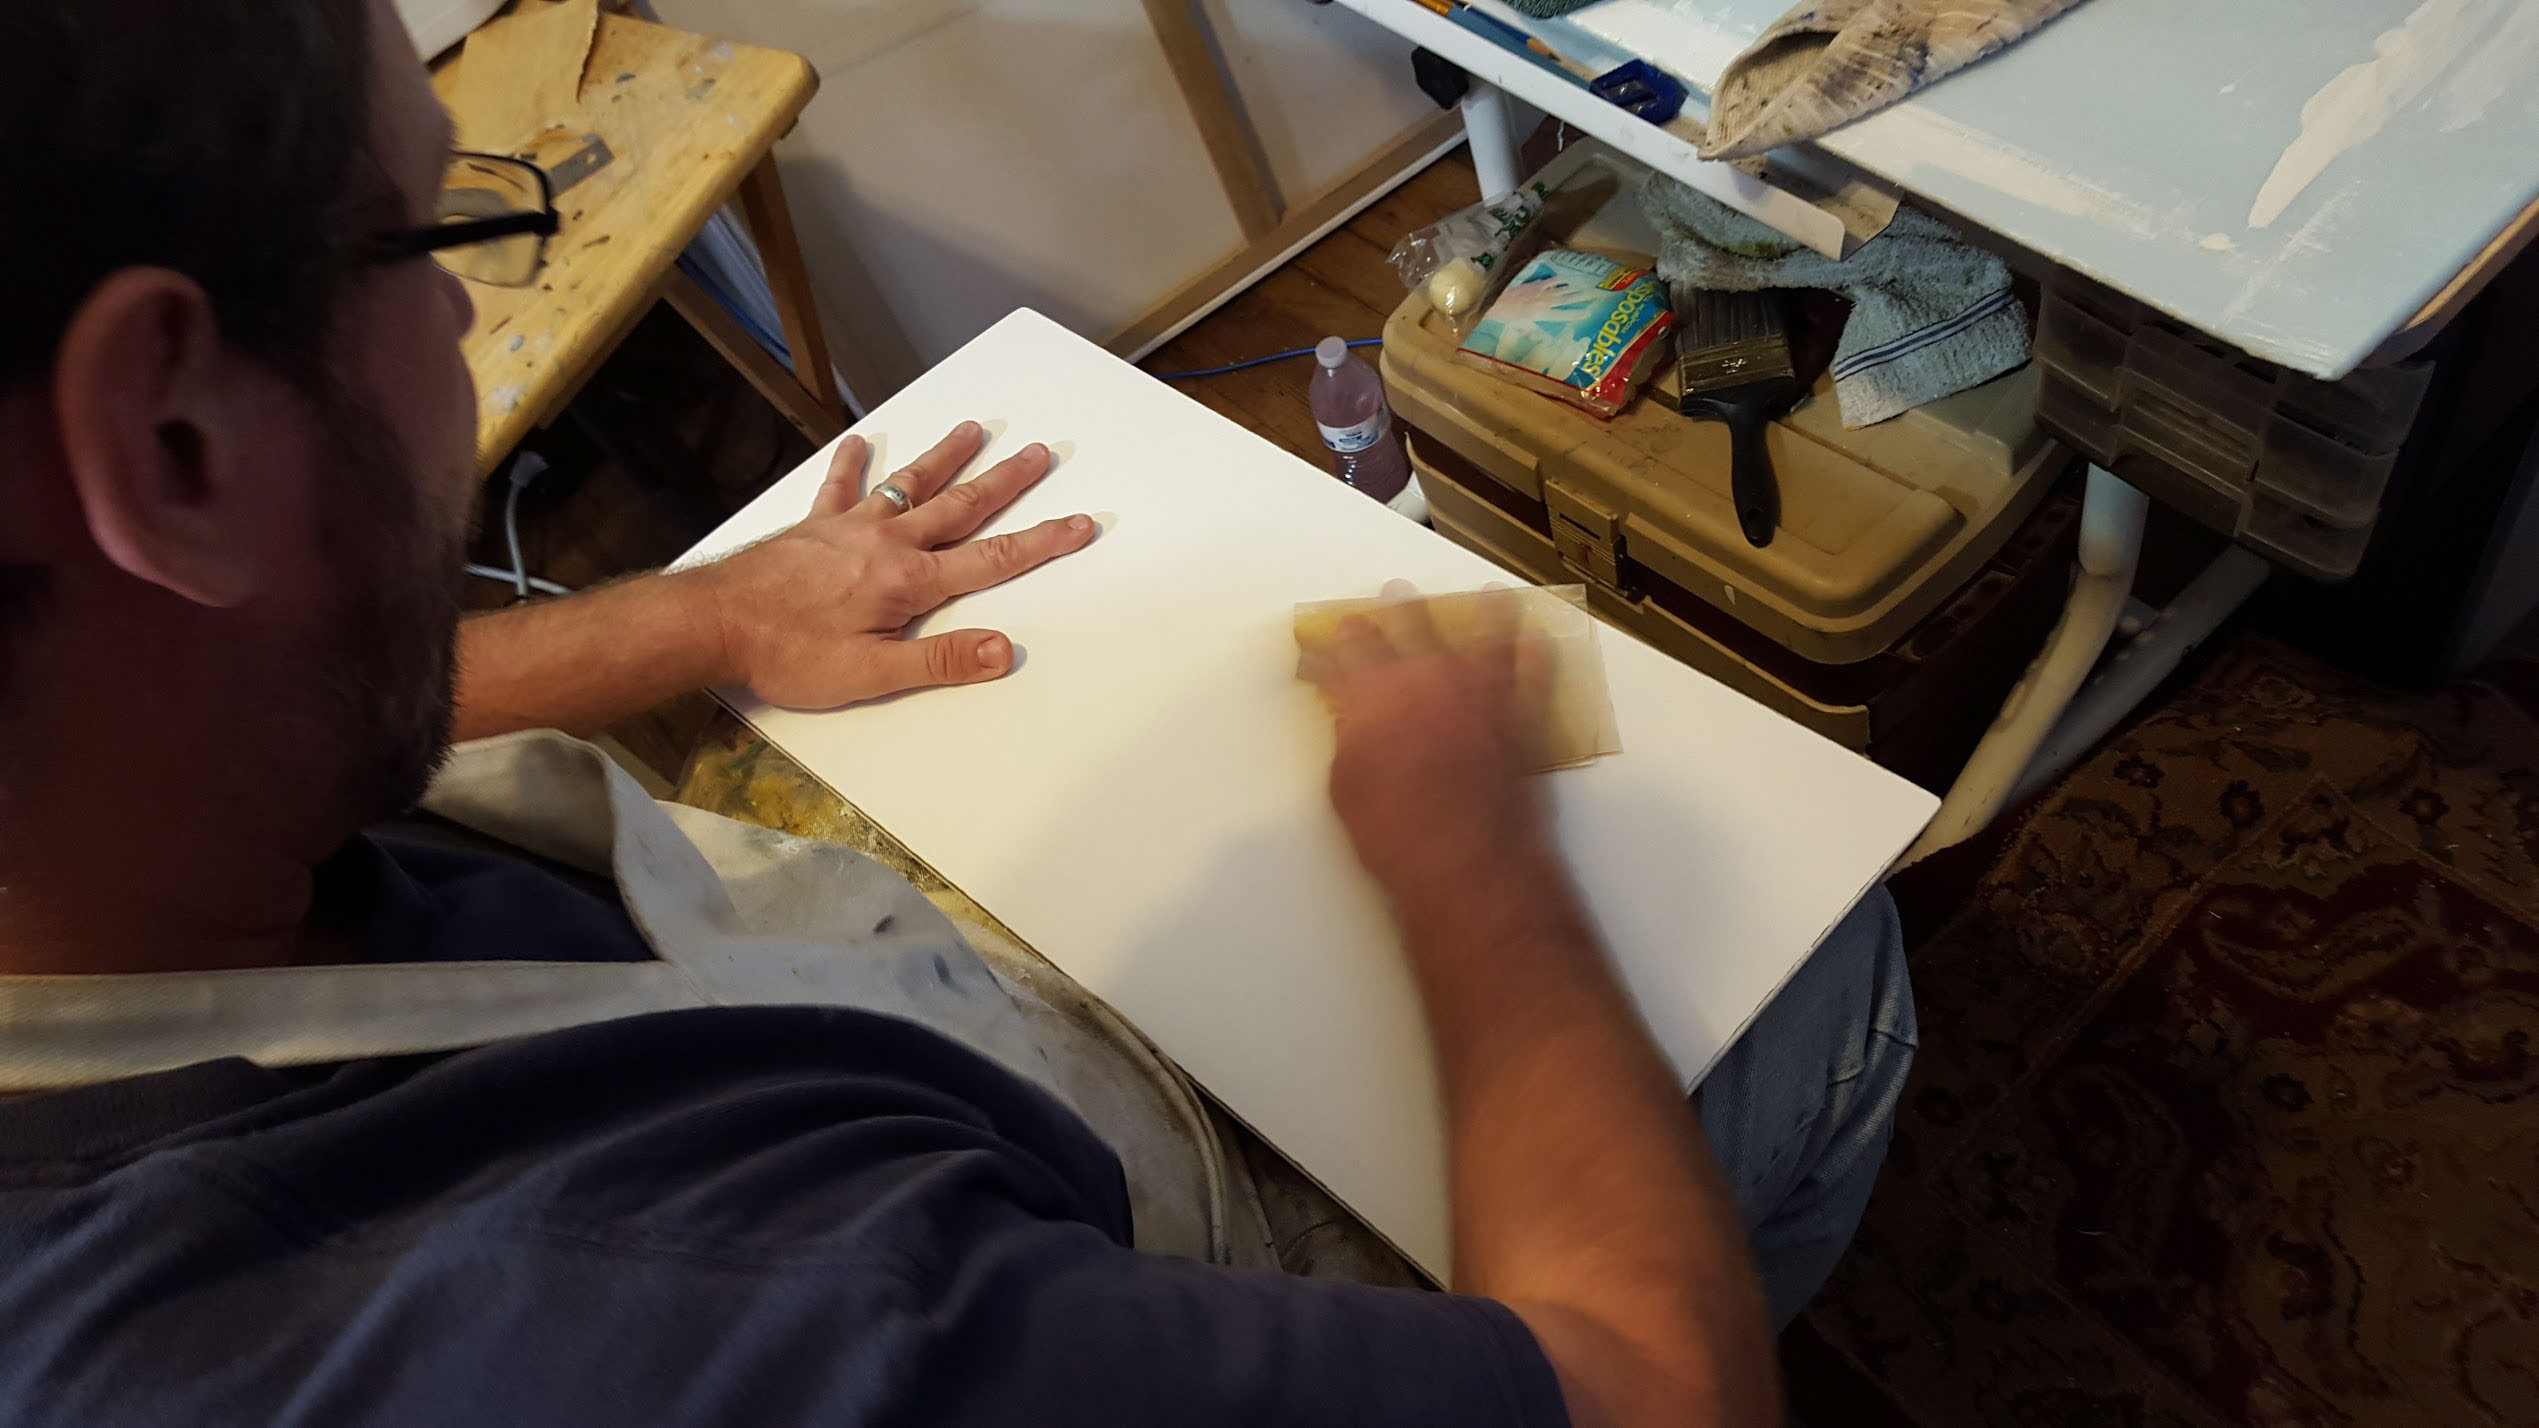
This hardboard took about 4 layers of gesso, sanded smooth between layers.

My setup. On the right is my art palette which is just a sheet of plastic clamped to an art hardboard (soda can for size reference). On the left is my 24" x 12" gesso prepped hardboard ready for paint.

I use this projector stand not only for my projector but also to sit my palette on. It's from Pyle - VERY sturdy and a great tool to sit my materials on.

Now, I'm applying a thin wash of burnt umber as the underpainting for my painting. I'll later lay this down flat so it doesn't drip/run downward and smooth out with a large brush.

For the underpainting, I use a thinned down right out of the tube color of burnt umber.

Smoothing the underpainting layer with horizontal and vertical strokes to get a slight canvas texture look.
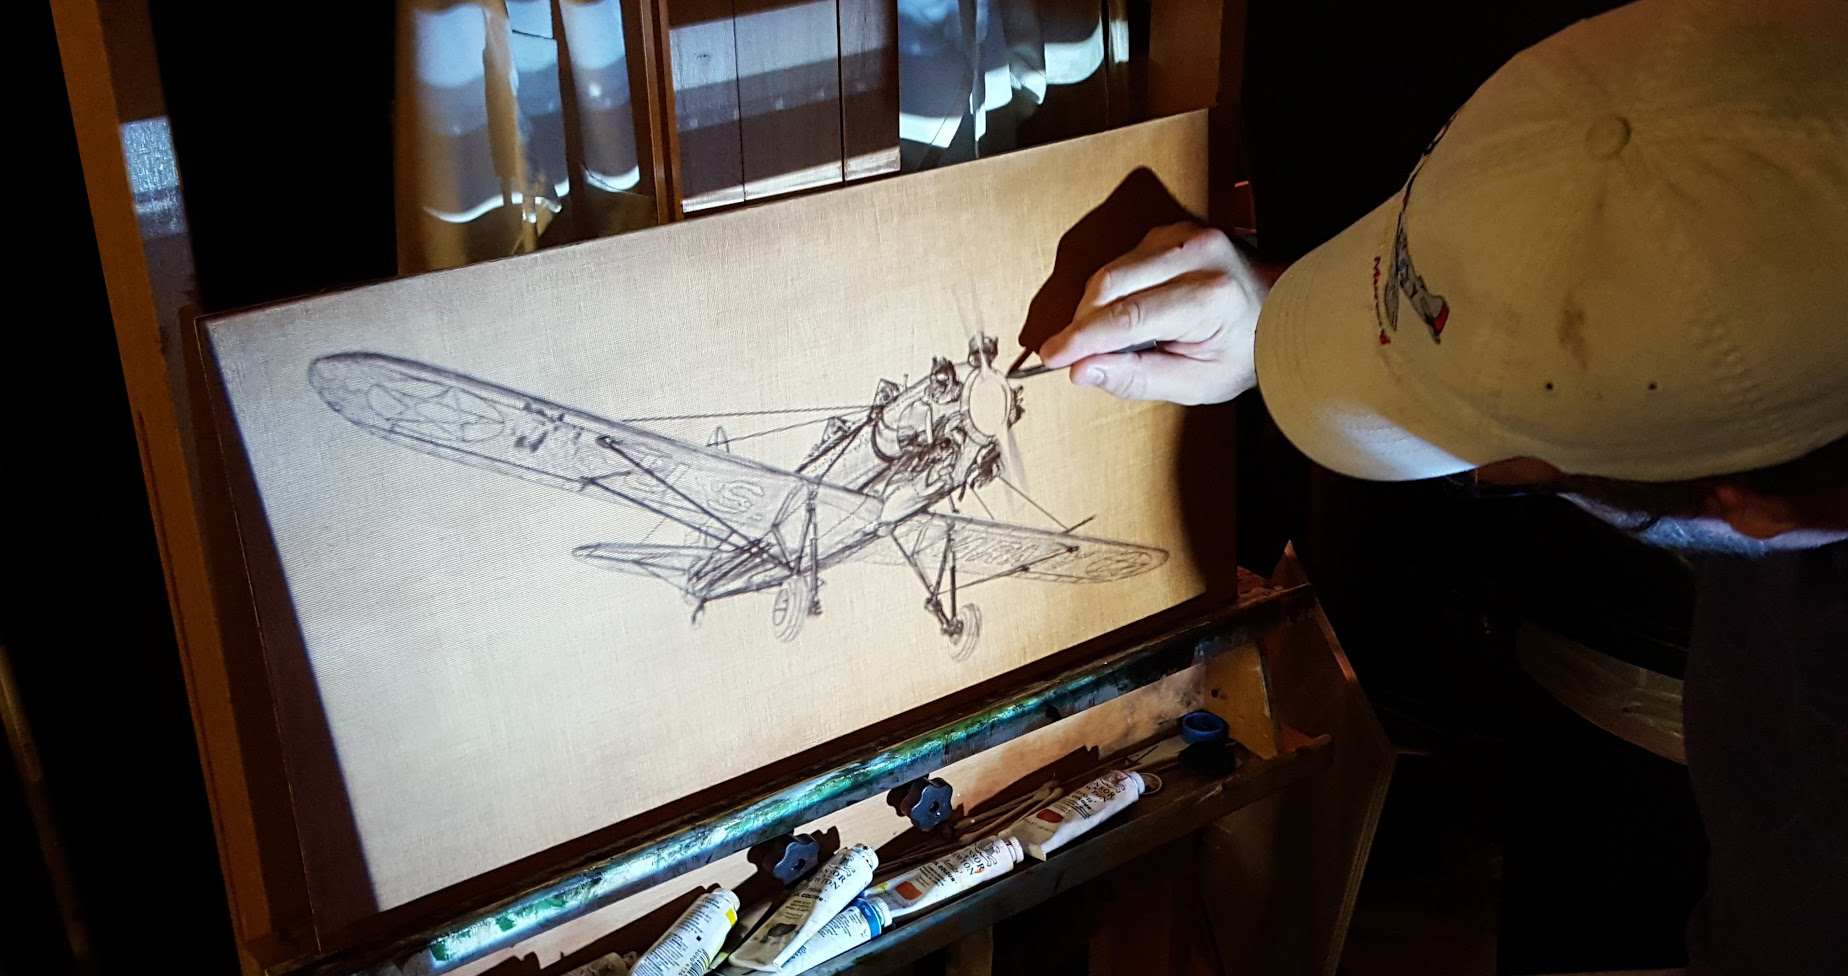
I built my PT-22 Ryan Recruit from scratch in 3D using Maxon Cinema 4D. I had already composed my scene myself. I build 3D models and use them to visualize for my traditional works of art, thus, utilizing the best of both worlds - digital and traditional mediums of art. Here, I am projecting my model onto the hardboard that I prepped and prepainted and am drawing the plane into position onto the surface.

To project my drawing, I use a digital projector. I found a very good, small and portable projector for just under $90 dollars on Amazon.com - Taotaole Multi-media Mini 800 Lumens Portable LED Projection http://www.amazon.com/Taotaole-Multi-media-Portable-Projection-Projector/dp/B00VJ3JVK2/ref=sr_1_2?ie=UTF8&qid=1451491735&sr=8-2&keywords=digital+projector+taotaoleI love this projector. It's bright, it is very portable. I can hook it up to my computer via HDMI or use a USB stick.

I'm going to be painting the grisaille layer (a grey scale value underpainting) of the PT-22 Ryan Recruit first. Most of the time, the classical method of grisaille (pronounced "griz-eye") is used mostly for portraiture. However, I'm using the method with my aviation art so I can nail down the proper values of light to dark before applying colors (hues).
After the burnt umber underpainting wash is dry, I start applying the grisaille layer of greys, starting with the clouds in the background.
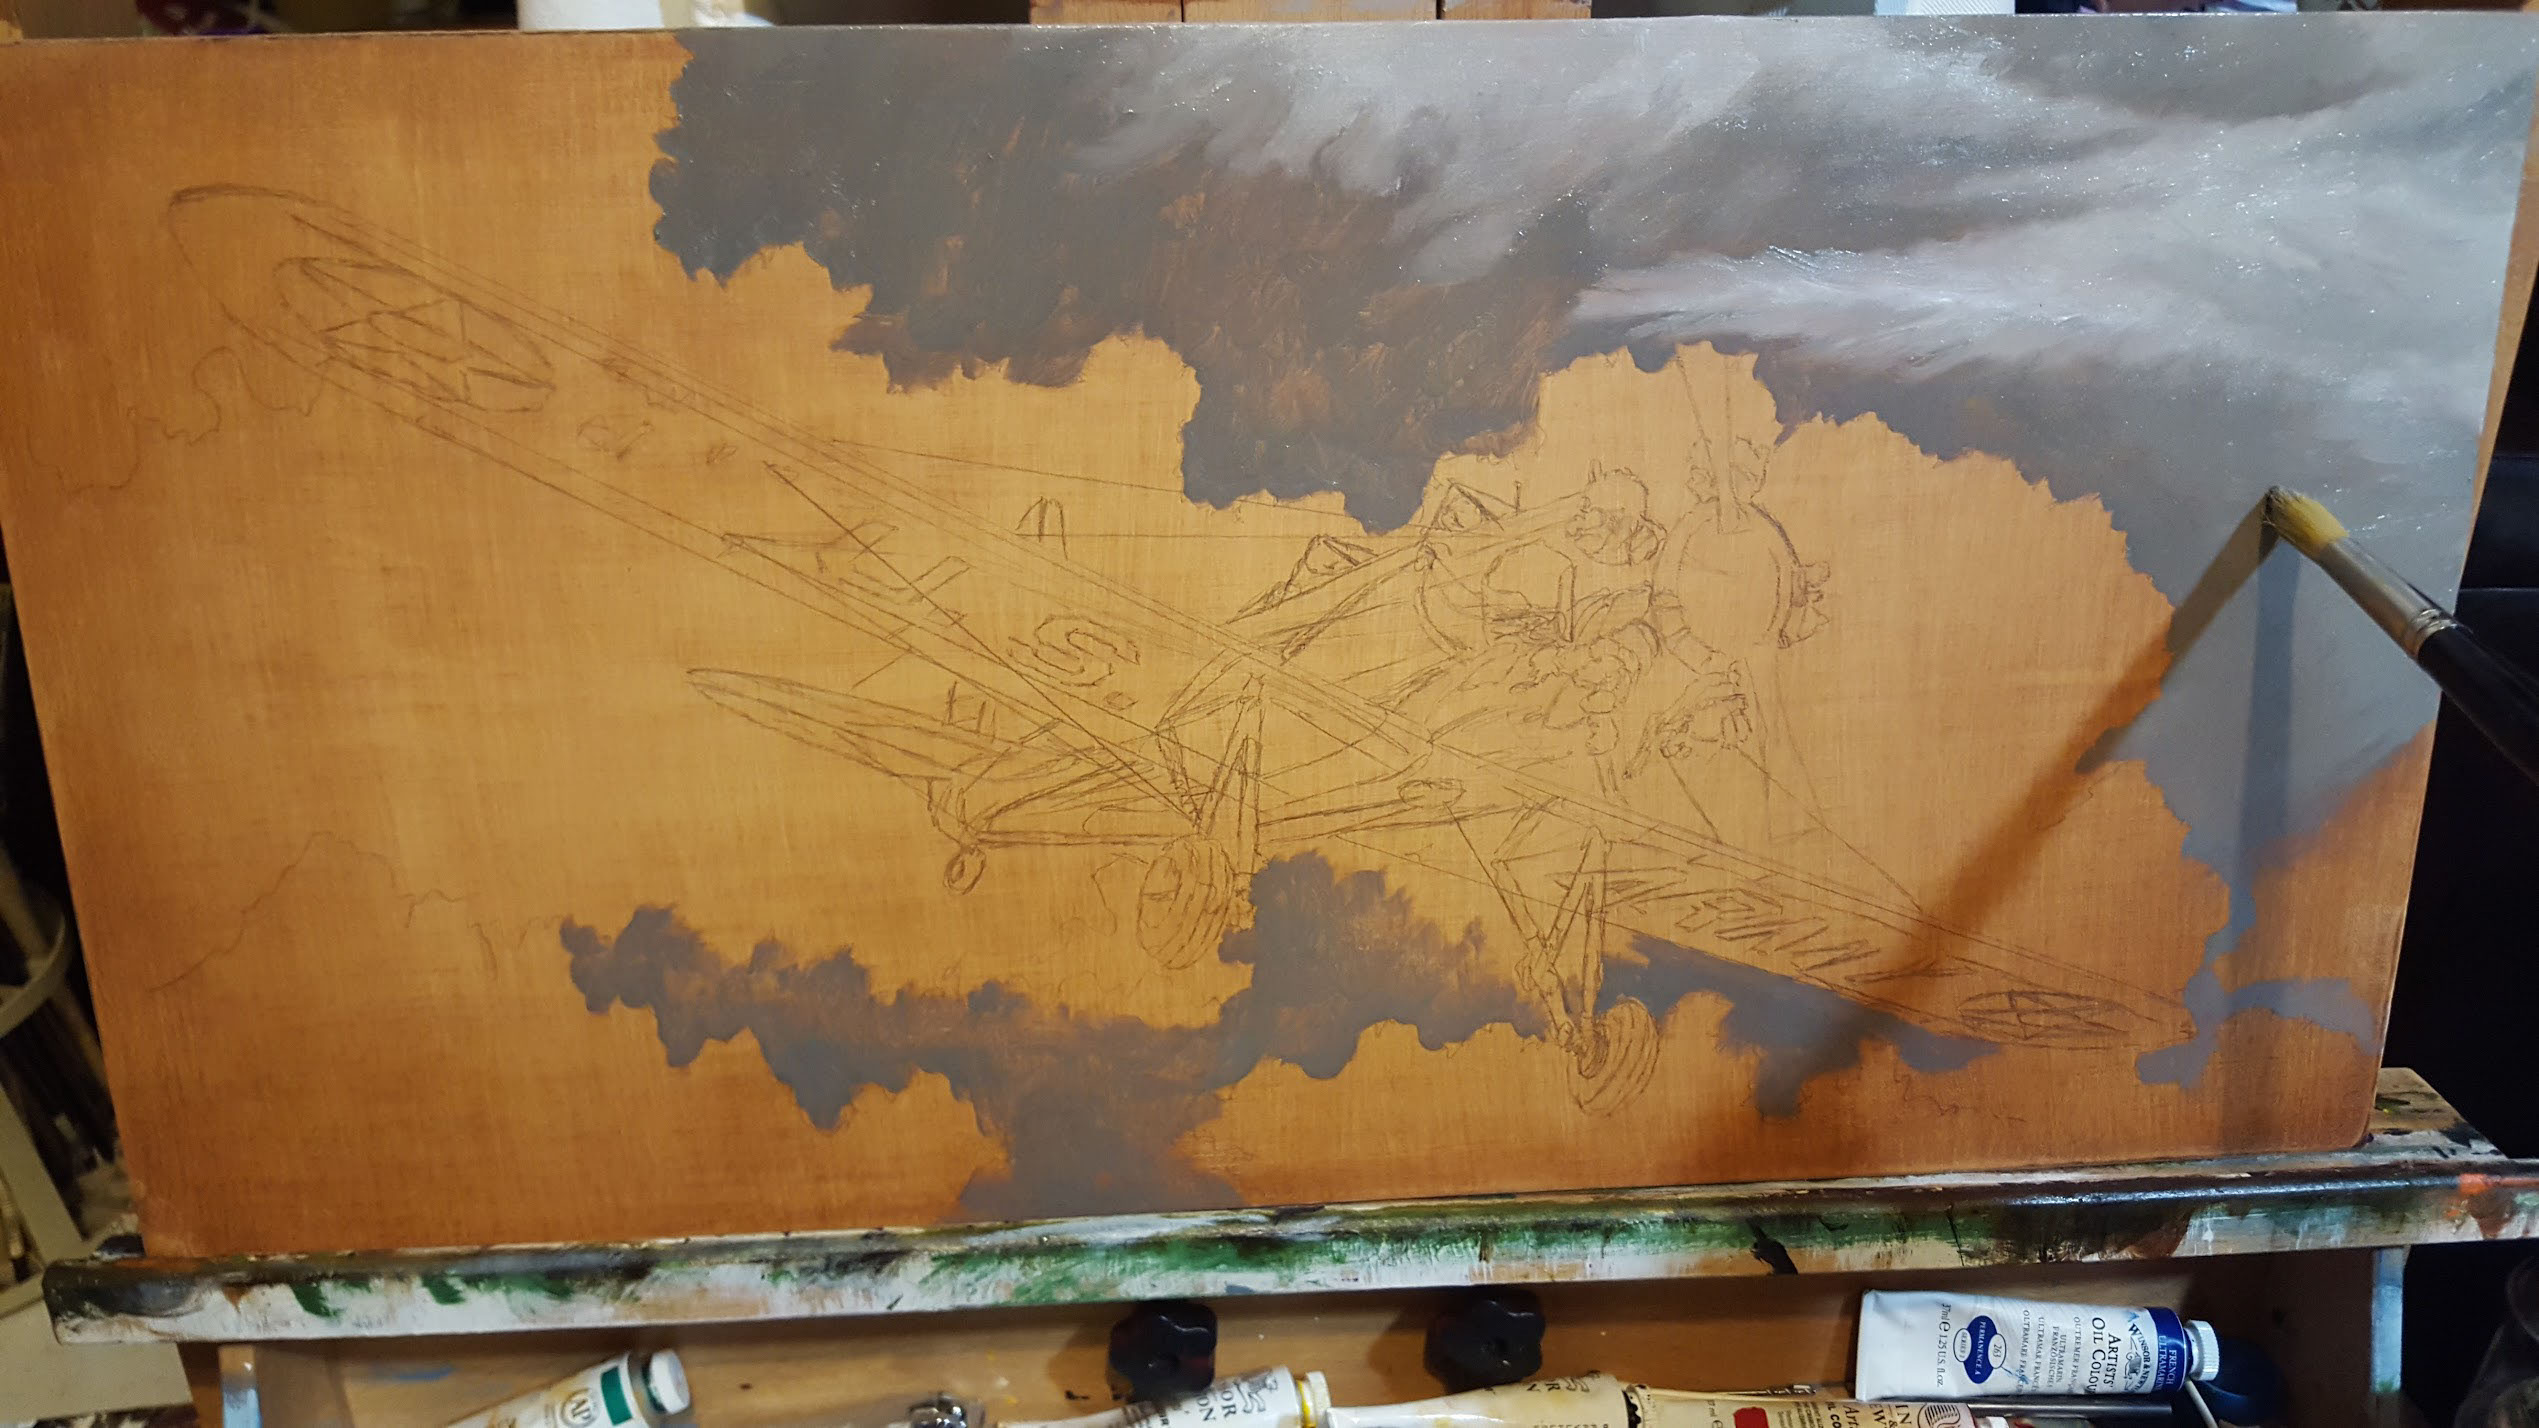
Furthering the clouds in the background using the grisaille (grey tone) method.

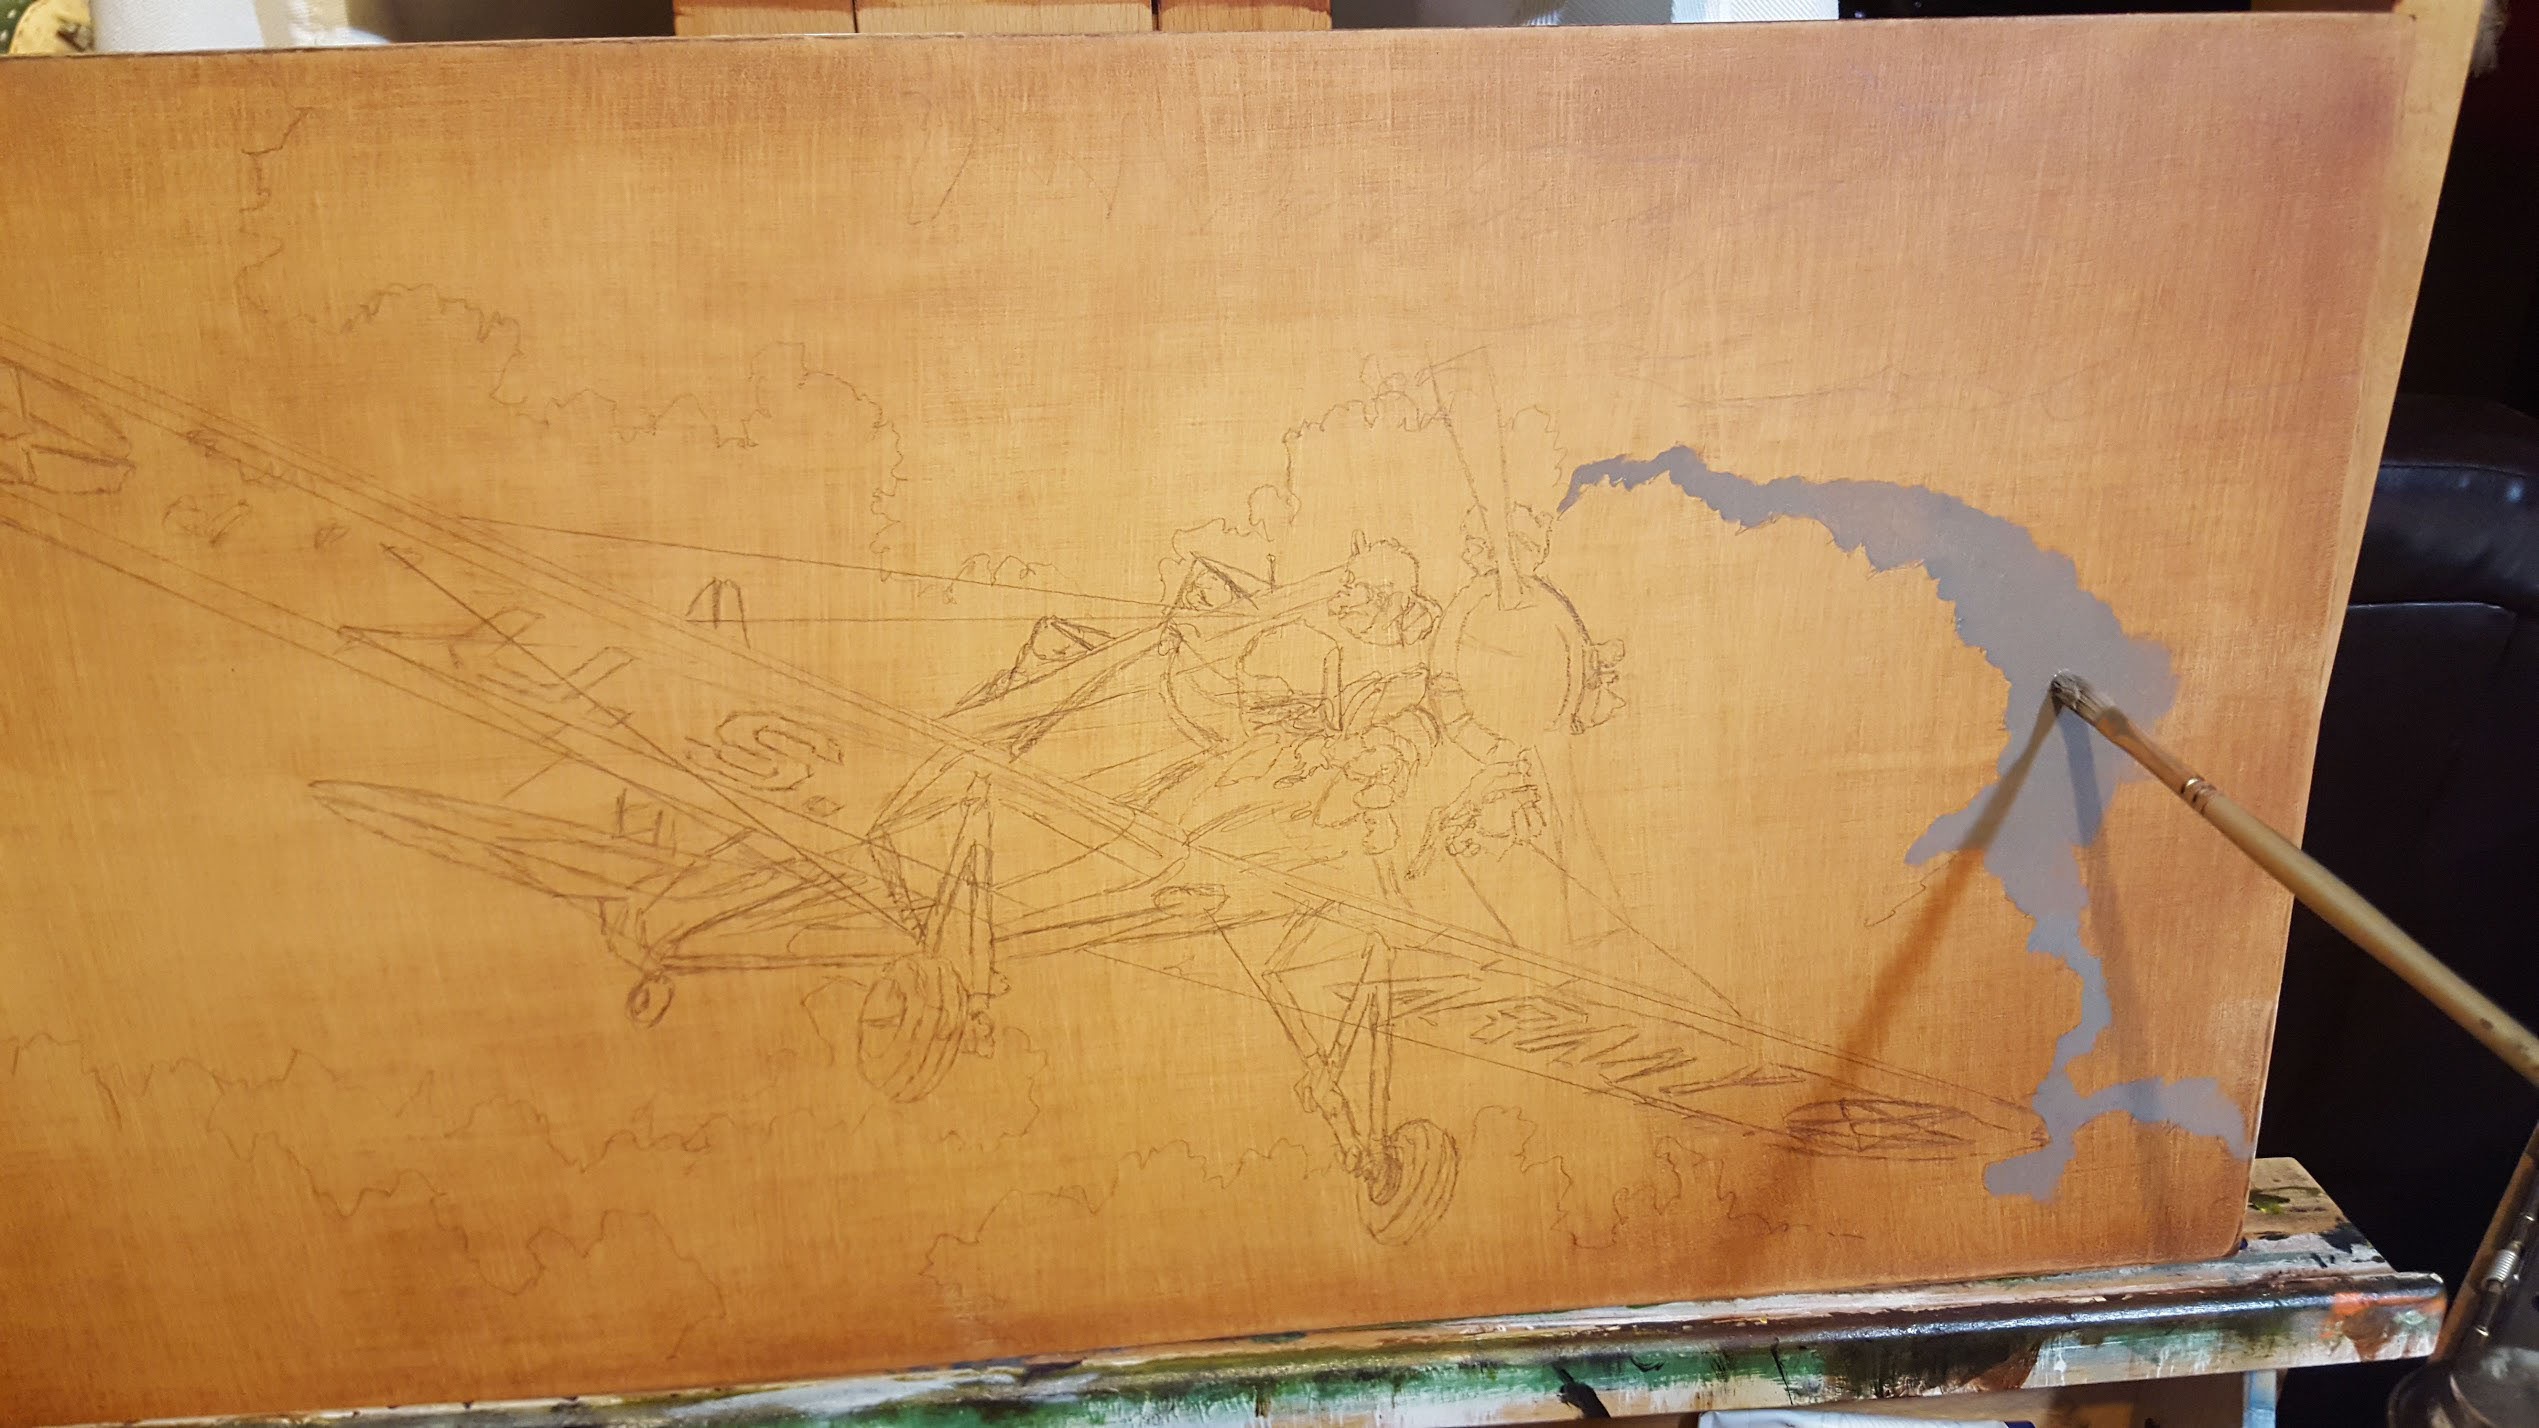
Continuing the background clouds for the grisaille layer. I'm noting the dramatic contrasts of the areas of clouds that are being struck by the light. Also, note, that I'm not using pure ivory black from the tube. I mix a mixture of burnt umber 60% to mix with ultramarine blue 40% with about 5% of cadmium yellow.

more work on the background clouds.

My painting setup. The large hardboard in the background is for another painting. I get these hardboards at Lowes for a very cheap price.
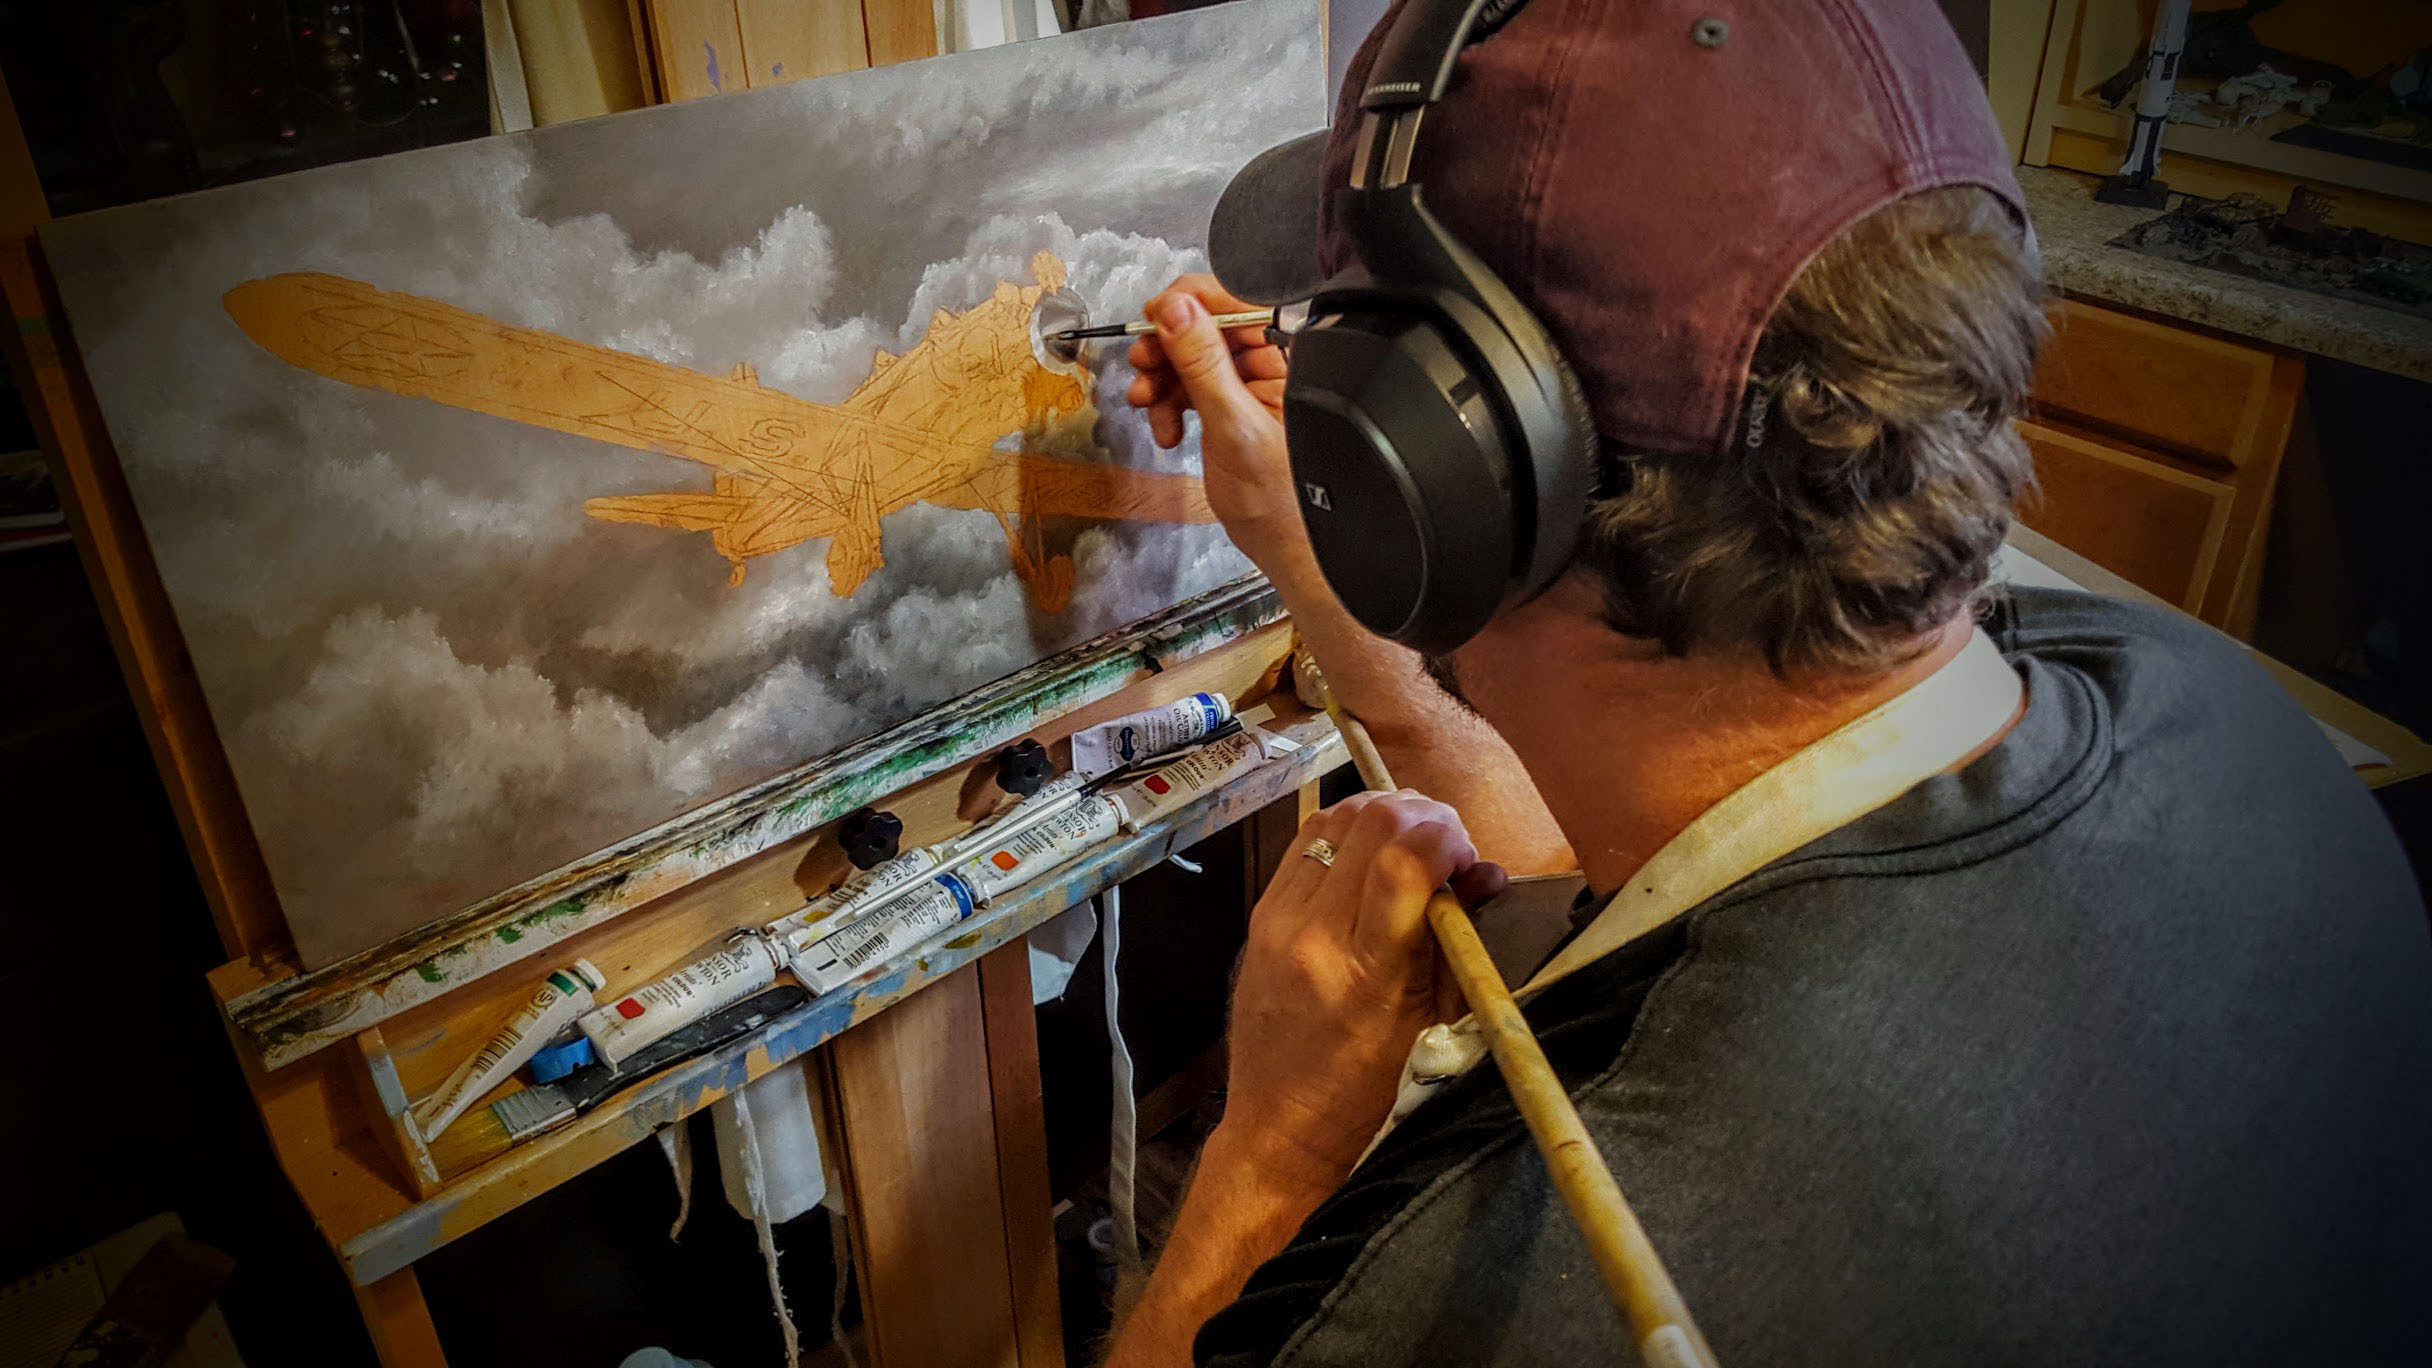
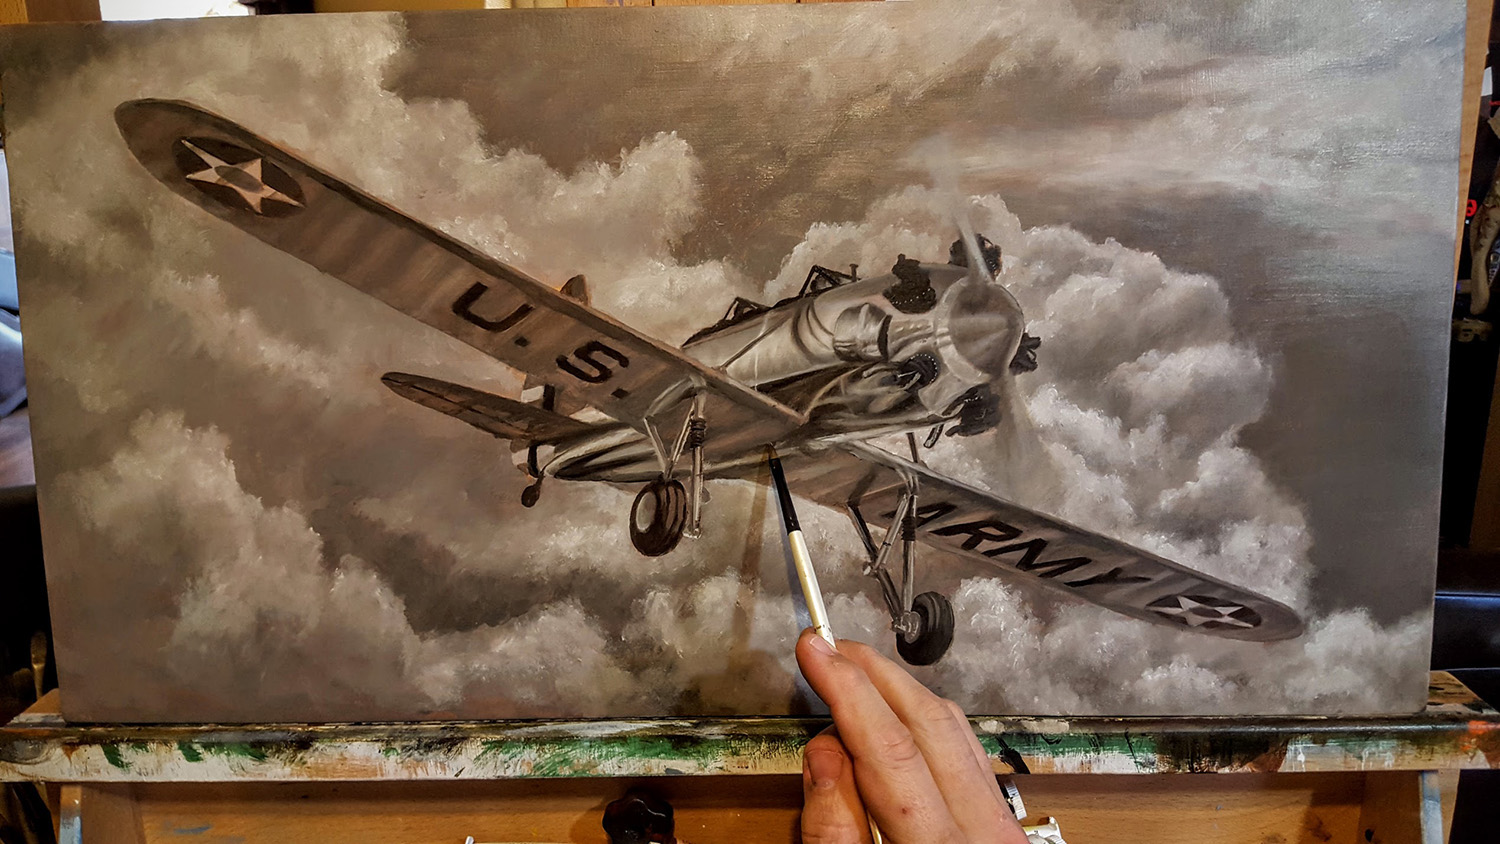
Painting the aircraft now.
The blacks seen in this grisaille underpainting are not pure black, but a mixture of burnt umber, ultramarine blue, and cadmium yellow.
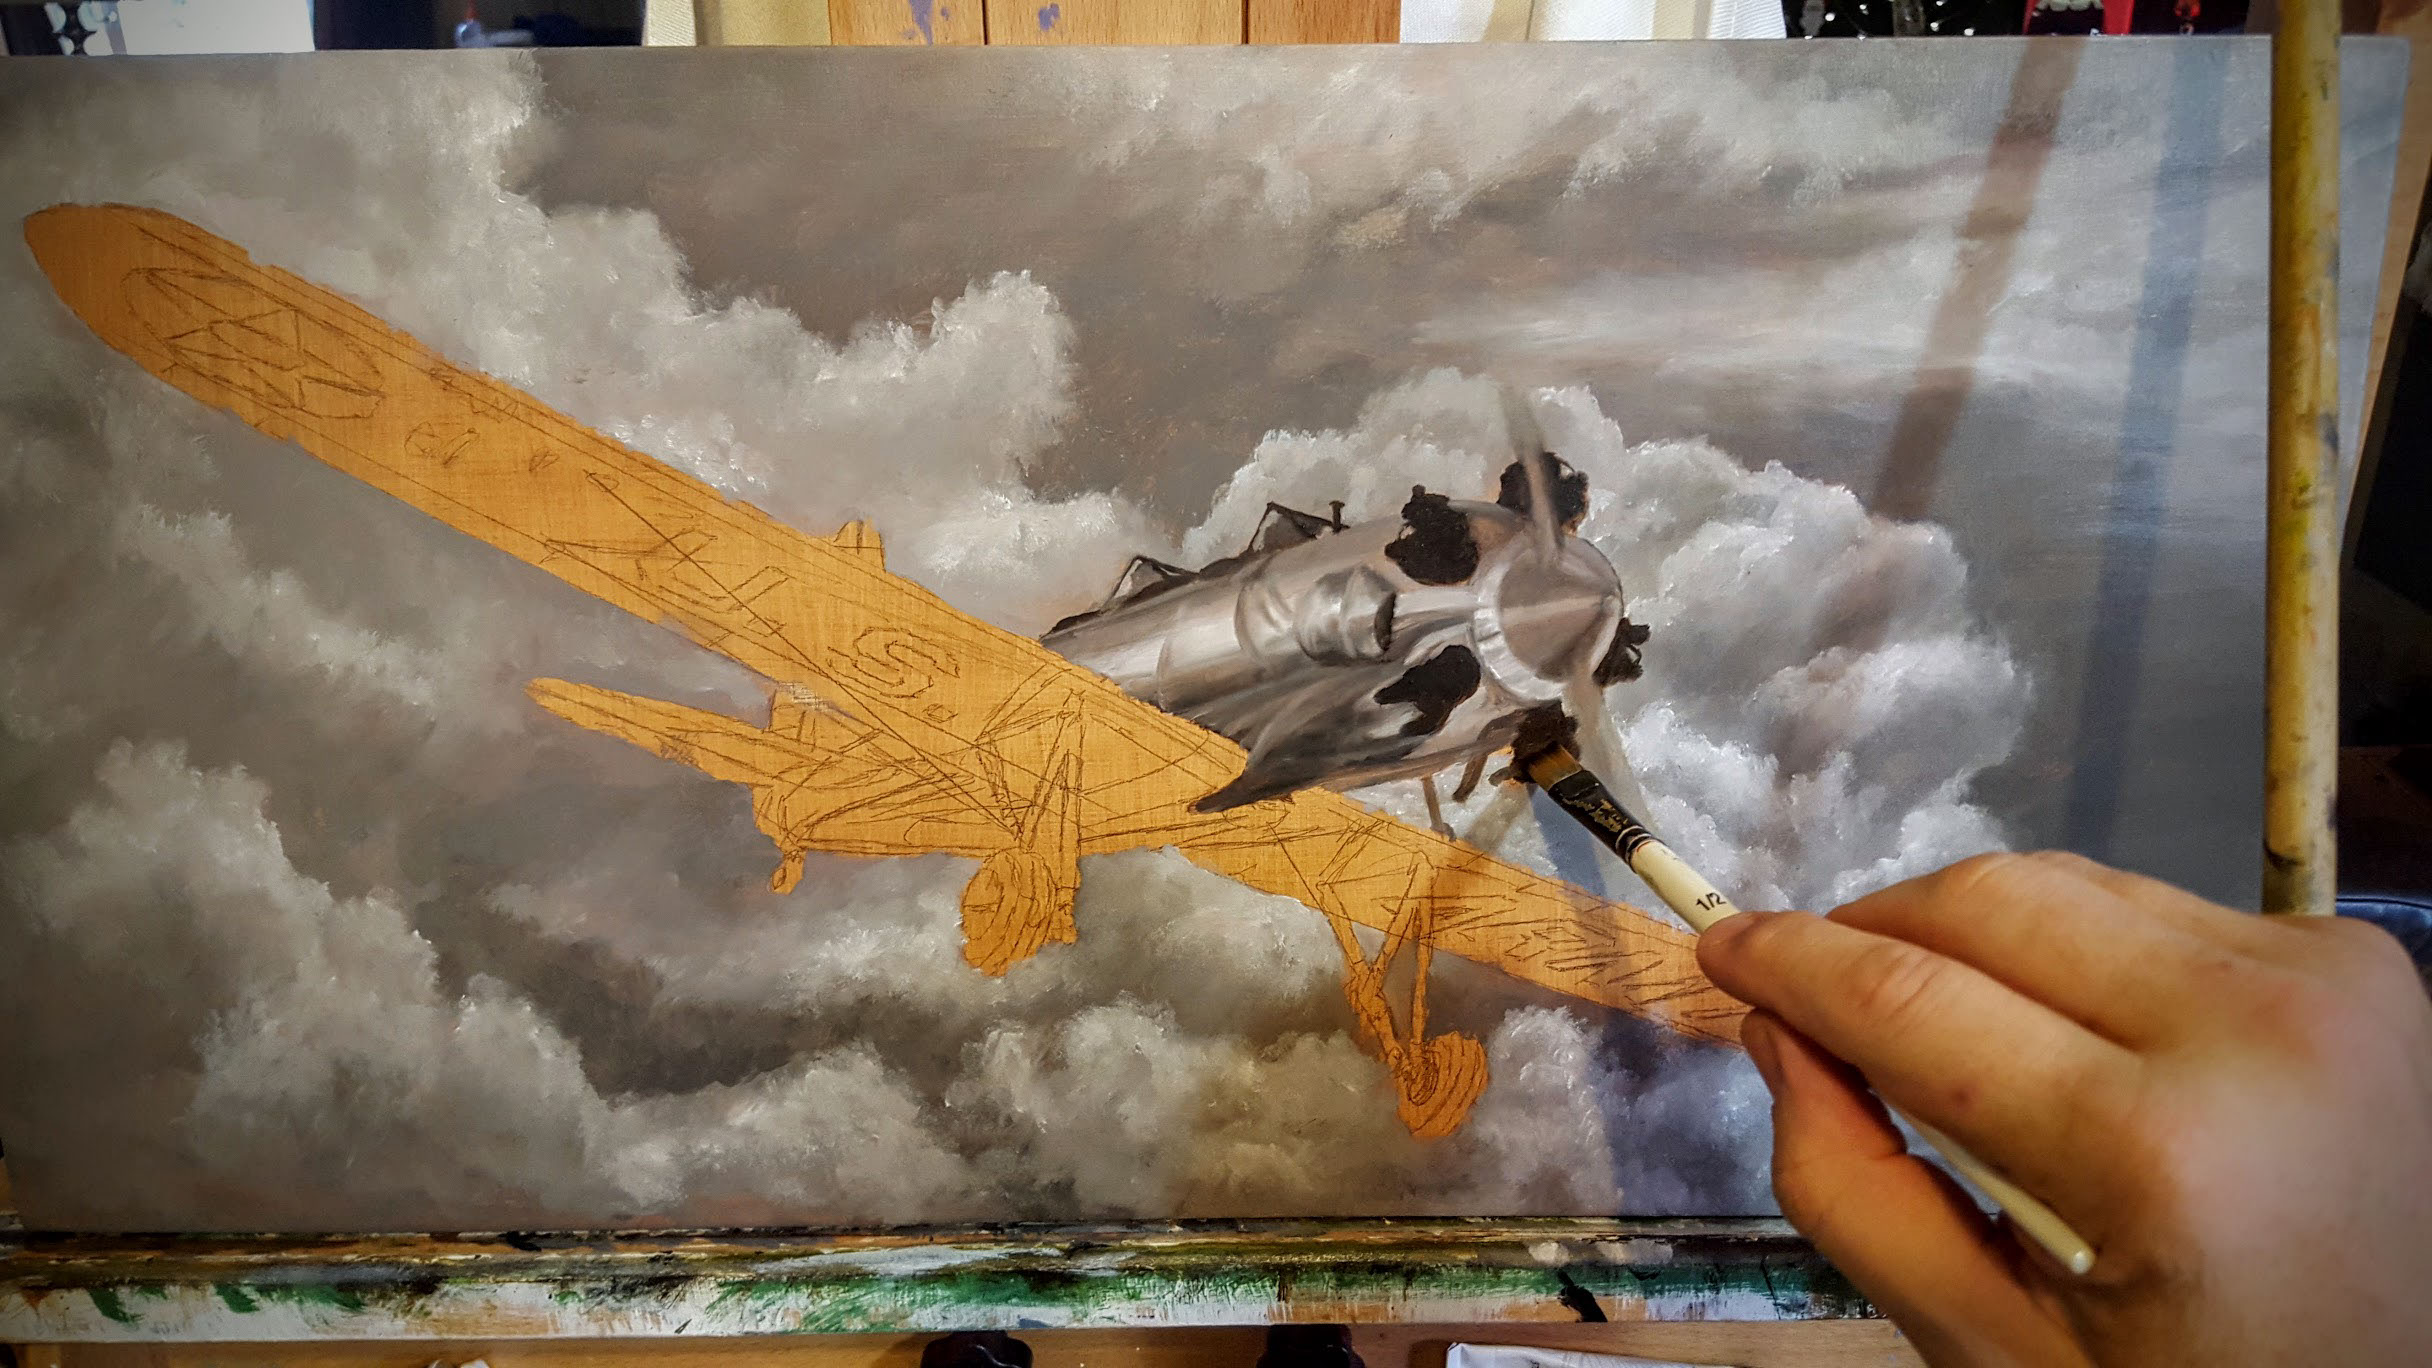
More work on the plane itself, the contrasts of the polished metal are looking good.

The aircraft is almost complete.

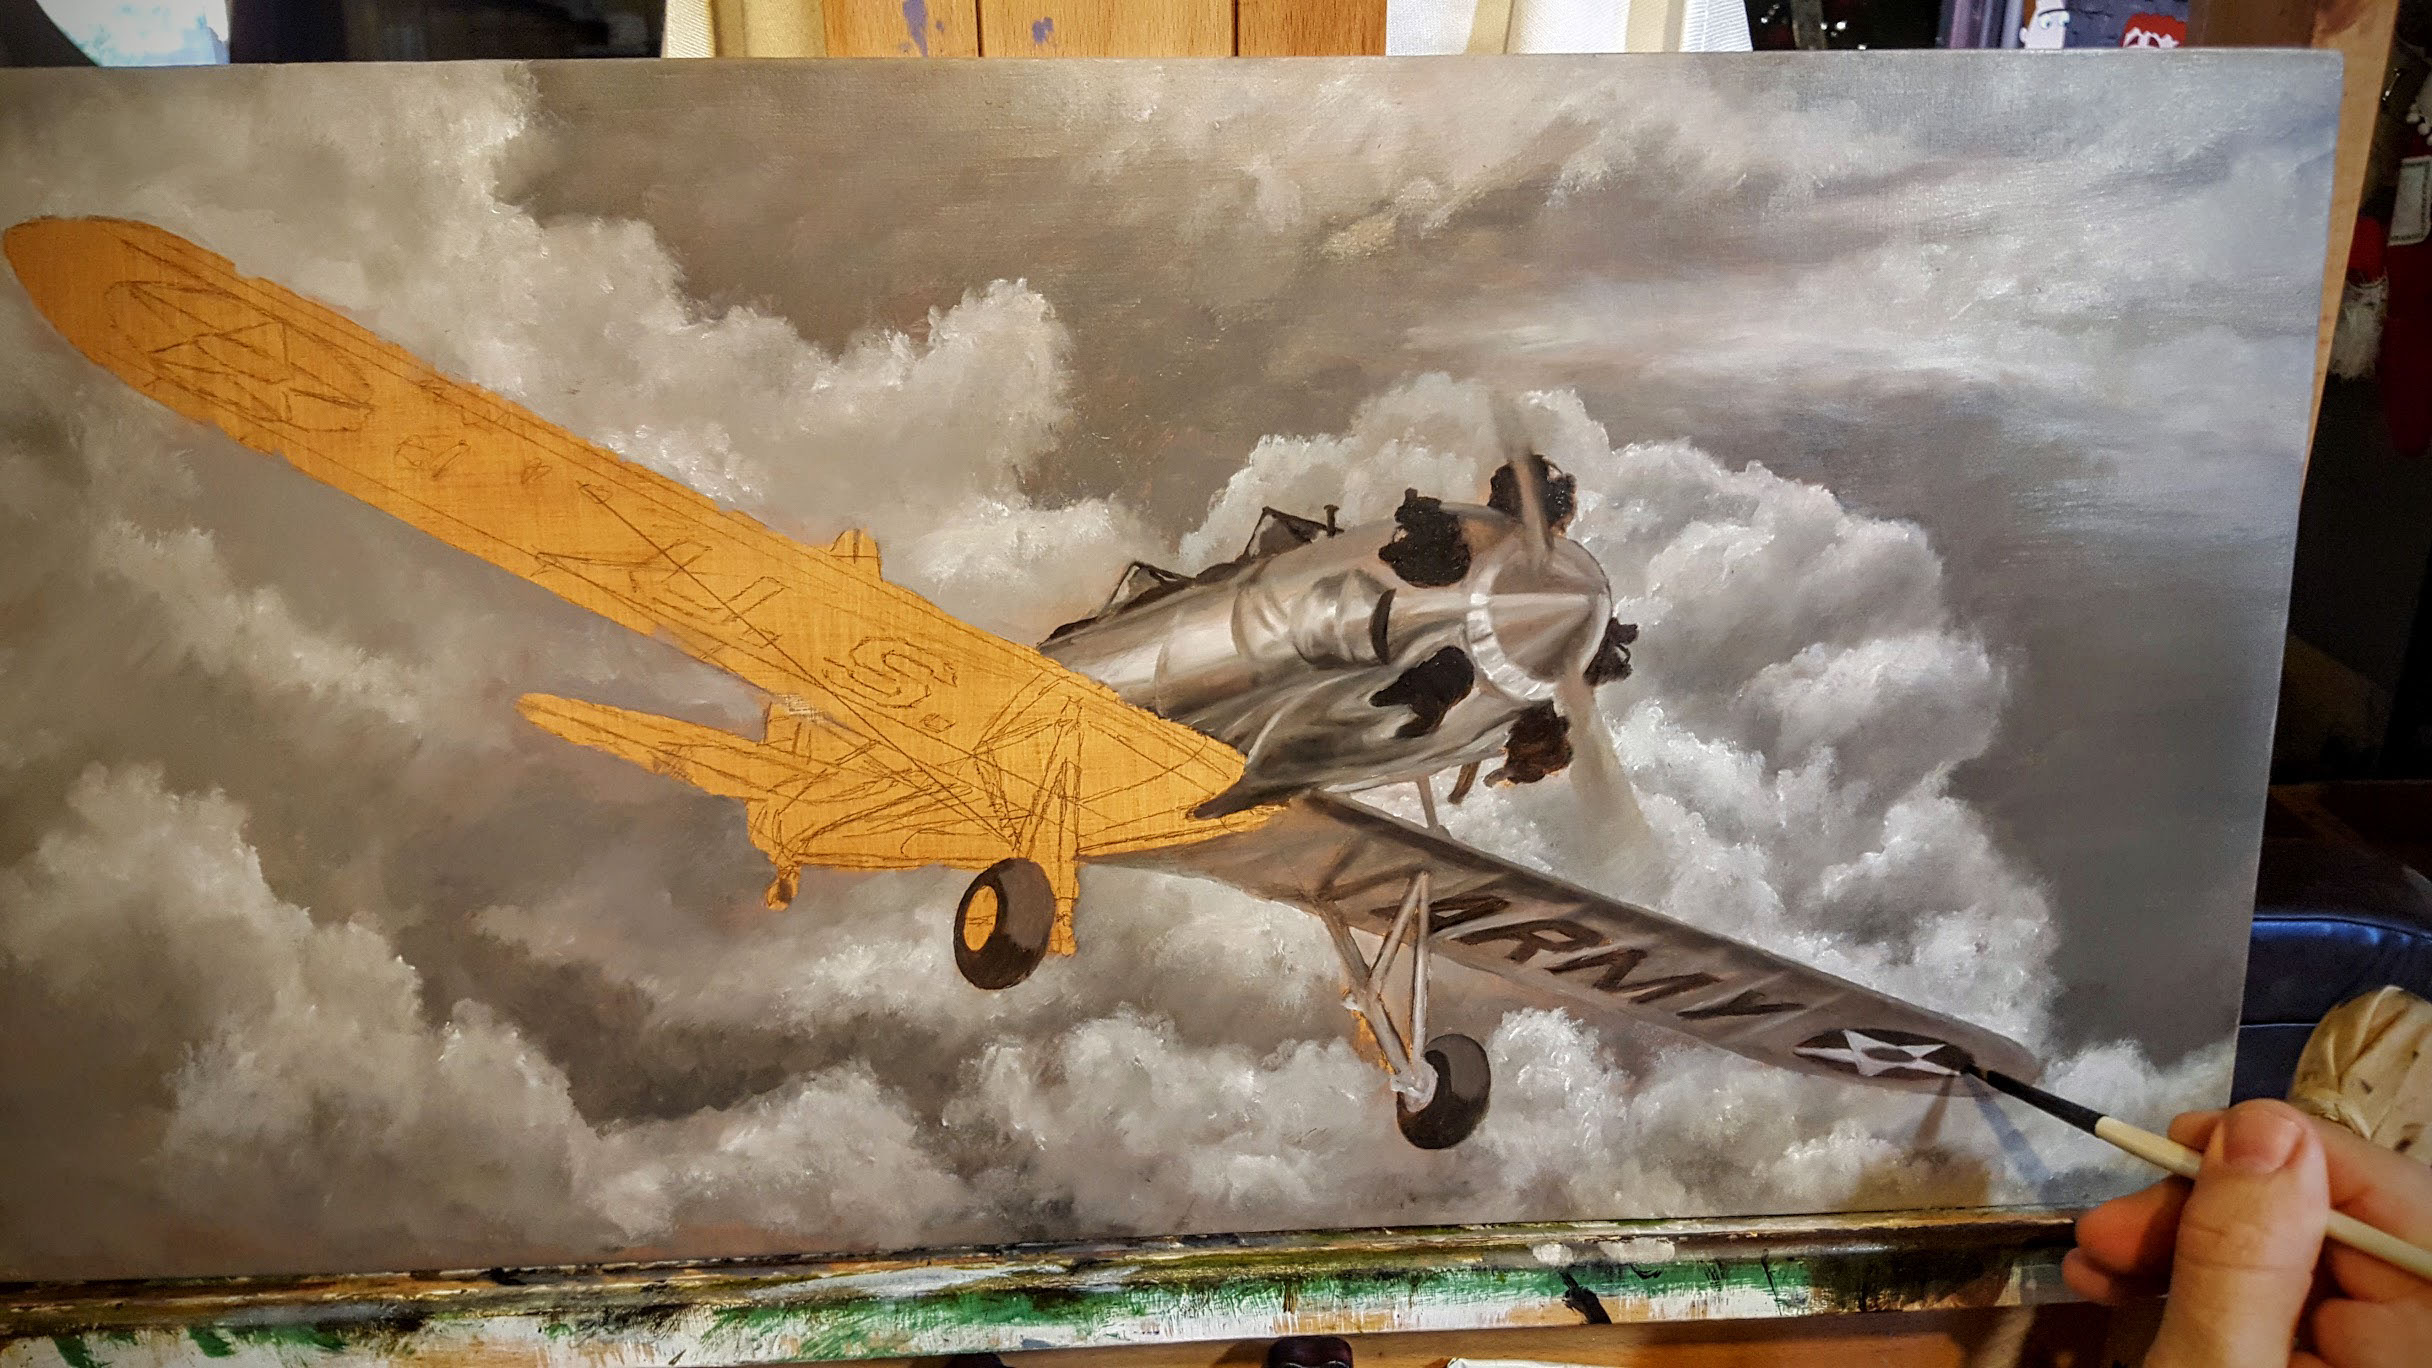
building up details on the PT-22 Ryan Recruit oil painting.
Another update. I'm working on the grisaille layer for this painting. I'm refining areas all around the fuselage and wings. I have yet to paint the cables and certain areas of the braces.